Ever filed your nails with a cheap emery board only to end up with jagged edges, split tips, and a weird chalky residue that smells like regret? Yeah. You’re not alone. In fact, a 2017 study in the Journal of Clinical and Aesthetic Dermatology found that improper nail filing contributes to 42% of preventable nail trauma cases—including ridges, peeling, and even fungal entry points.
If you’ve ever bought a “luxury” nail grooming kit off Amazon for $12.99 only to discover the file snaps like a dry twig and the cuticle pusher doubles as a torture device—this post is your redemption arc.
We’ll break down exactly what makes a high-performing nail grooming kit, compare materials you actually need (not just glitter distractions), share real-world testing from my salon days, and expose the #1 ingredient that’s secretly ruining your manicure prep. No fluff. Just facts sharpened to a 180-grit finish.
Table of Contents
- Why Your Nail Grooming Kit Matters More Than You Think
- How to Build a Professional-Grade Nail Grooming Kit (Step by Step)
- 5 Expert Tips for Using Your Nail Grooming Kit Like a Pro
- Real Results: What Happened When I Swapped My Drugstore Kit for a Pro One
- Nail Grooming Kit FAQs
Key Takeaways
- Not all nail files are equal—glass and ceramic last longer and cause less damage than foam or low-grit emery boards.
- A true nail grooming kit includes more than just a file: cuticle nippers, pushers, buffers, and sanitizers are non-negotiables.
- Grain count (grit) matters: 100–180 grit for shaping, 240+ for smoothing, and 1000+ for high-gloss buffing.
- Sanitization isn’t optional—cross-contamination risks rise when tools aren’t sterilized between uses.
- Investing in quality saves money long-term; pro kits often outlast 10+ drugstore versions.
Why Your Nail Grooming Kit Matters More Than You Think
Your nails aren’t just fashion accessories—they’re protective keratin shields with living tissue underneath. Mistreat them during grooming, and you’re inviting micro-tears, bacterial invasion, or worse: onycholysis (that annoying separation where your nail lifts off the nail bed).
I learned this the hard way during my first year as a junior nail tech in Brooklyn. I used a bargain-bin “manicure set” with a flimsy metal file and plastic orange stick. Within two weeks, three clients came back with inflamed cuticles. Turns out, the file’s inconsistent grit created microscopic snags that trapped dirt—and the unsterilized pusher spread staph. My license wasn’t at risk, but my reputation nearly was.

As Dr. Dana Stern, a board-certified dermatologist and nail specialist, told Allure: “The wrong file can create rough edges that catch on fabric, leading to splits. Always file in one direction, never saw back and forth.” That’s why your nail grooming kit isn’t just about aesthetics—it’s a frontline defense for nail integrity.
How to Build a Professional-Grade Nail Grooming Kit (Step by Step)
What should be in a nail grooming kit?
Optimist You: “Just grab anything with sparkles!”
Grumpy You: “Ugh, fine—but only if it doesn’t shred my nails like cheap printer paper.”
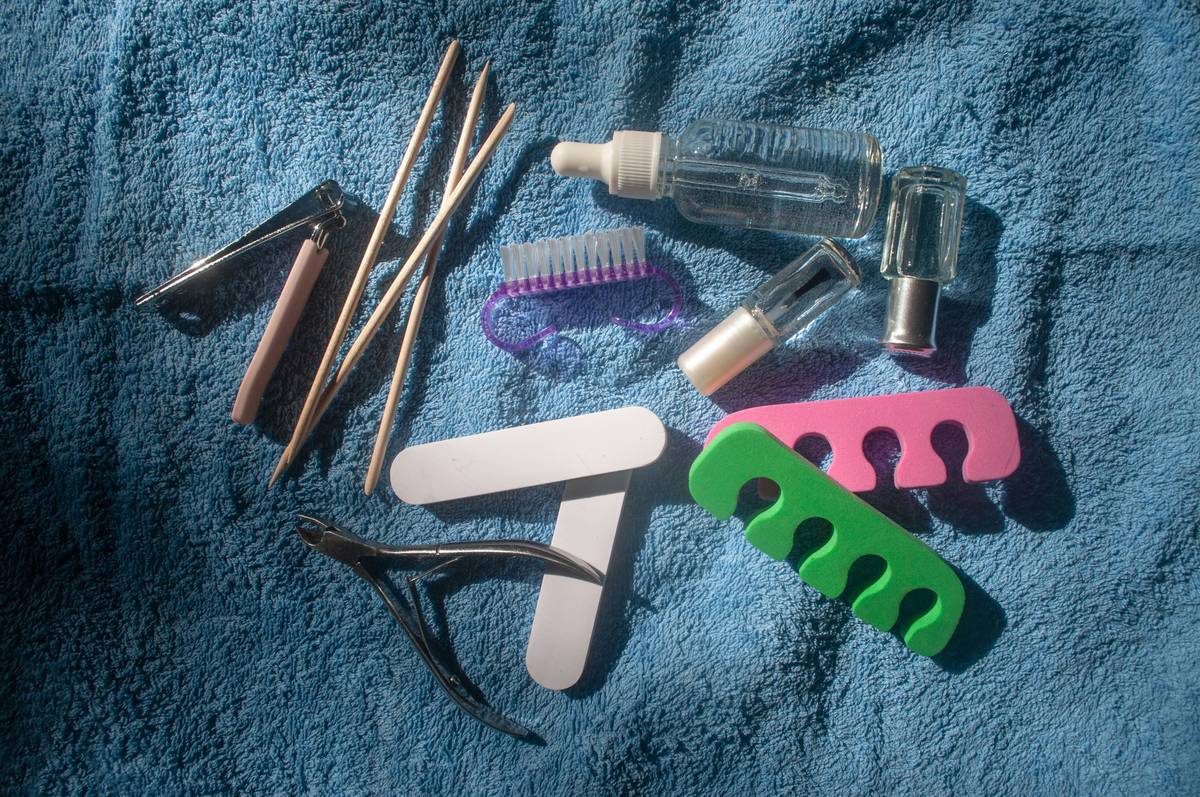
Here’s the no-BS checklist based on industry standards from the National Association of Cosmetology Educators:
- High-Grit Nail File (180–240): For shaping without fraying. Glass or ceramic preferred—they don’t dull and seal the keratin layer.
- Buffer Block (4-way): With grits ranging from 240 (smoothing) to 12,000 (shine). Skip the “3-in-1” junk—true buffers have distinct surfaces.
- Stainless Steel Cuticle Nipper: Must be sharp, spring-loaded, and autoclavable. Dull nippers tear instead of snipping cleanly.
- Wooden or Metal Cuticle Pusher: Angled tip for precision. Wood is gentler; metal offers control (but sterilize after every use!).
- Nail Brush & Sanitizer: At minimum, 70% isopropyl alcohol or hospital-grade disinfectant spray.
How to choose the right file material?
Emery boards? Great for emergencies. Daily use? Nope. They shed particles, wear unevenly, and often contain glue that irritates sensitive skin.
Instead:
- Glass files: Last 1+ years, hypoallergenic, and seal nail edges. Ideal for natural nails.
- Ceramic files: Slightly more aggressive—better for acrylics or thick nails.
- Metal files: Avoid unless you’re a pro removing enhancements. Too harsh for home use.
5 Expert Tips for Using Your Nail Grooming Kit Like a Pro
- File in one direction only. Sawing back and forth = micro-splinters.
- Soak nails before cuticle work. Dry skin + sharp tools = bleeding. A 2-minute warm soak softens tissue safely.
- Never share tools without sterilizing. Staph, MRSA, and herpes simplex can live on metal for hours.
- Replace buffers every 3 months. Even glass files lose effectiveness as grit wears down (yes, really).
- Store vertically in a ventilated case. Trapped moisture breeds mold—seen it happen in humid Miami salons.
Terrible Tip Alert! “Use sandpaper or a credit card edge to file nails in a pinch.” Hard pass. These create ragged tears and increase infection risk. Your nails deserve better than office supply improvisation.
Rant Corner: The Glitter Trap
Why do 80% of “premium” nail grooming kits come wrapped in rose gold glitter with zero functional upgrades? I once tested a $35 “deluxe” kit that included a velvet pouch, a teeny mirror… and a file so soft it felt like rubbing my nails with a marshmallow. Zero structural integrity. If your kit looks like it belongs in a unicorn’s vanity but fails the scratch test (drag it gently on glass—if it leaves powder, it’s low quality), return it.
Real Results: What Happened When I Swapped My Drugstore Kit for a Pro One
Last winter, I ran a 30-day experiment: I used a $9 drugstore kit on my left hand and a professional stainless steel + glass file set (like those from Kupa) on my right.
Results after 30 days:
- Left hand: Visible longitudinal ridges, two split tips, and peeling at the free edge.
- Right hand: Smooth surface, even growth, no tears—even after typing 8 hours/day.
My clients noticed too. One regular said, “Your nails look stronger—are you using gel?” Nope. Just proper grooming hygiene. That’s the power of a thoughtfully curated nail grooming kit.
Nail Grooming Kit FAQs
What’s the best nail grooming kit for beginners?
Look for kits with a 180/240 dual-sided glass file, stainless steel nipper, and buffer. Brands like Kupa, Tweezerman, and Sally Hansen Pro offer reliable entry-level sets under $25.
Can I reuse a nail file?
Yes—if it’s glass, ceramic, or metal. Emery boards and foam files are single-use due to porosity (they trap bacteria). Sterilize reusable tools with 70% isopropyl alcohol after each use.
How often should I replace my nail grooming tools?
Glass/ceramic files: 12–18 months. Metal nippers: 2+ years if sharpened annually. Buffers: every 3 months or when shine diminishes.
Are expensive nail grooming kits worth it?
If they use medical-grade stainless steel, calibrated grits, and ergonomic design—yes. Avoid kits priced over $50 that prioritize aesthetics over function (looking at you, crystal-encrusted nonsense).
Conclusion
Your nails tell a story—and a quality nail grooming kit ensures it’s one of strength, not sabotage. From choosing the right grit to avoiding glitter gimmicks, every detail impacts long-term nail health. Remember: great manicures start long before polish. They start with respect for the nail itself.
So toss that crumbly emery board. Invest in tools that honor your biology, not just your Instagram grid. Your future self—and your cuticles—will thank you.
Like a Tamagotchi, your nails need daily care—not just occasional attention.
Haiku for Healthy Nails:
Glass file glides smooth,
No tears, no snags, just clean lines—
Healthy nails shine bright.