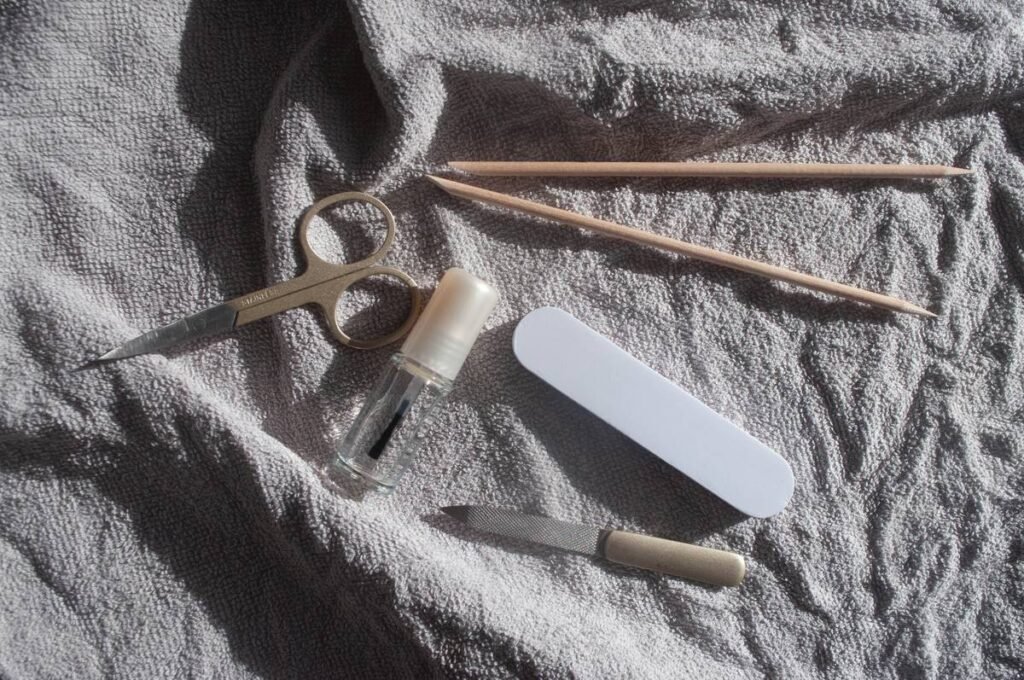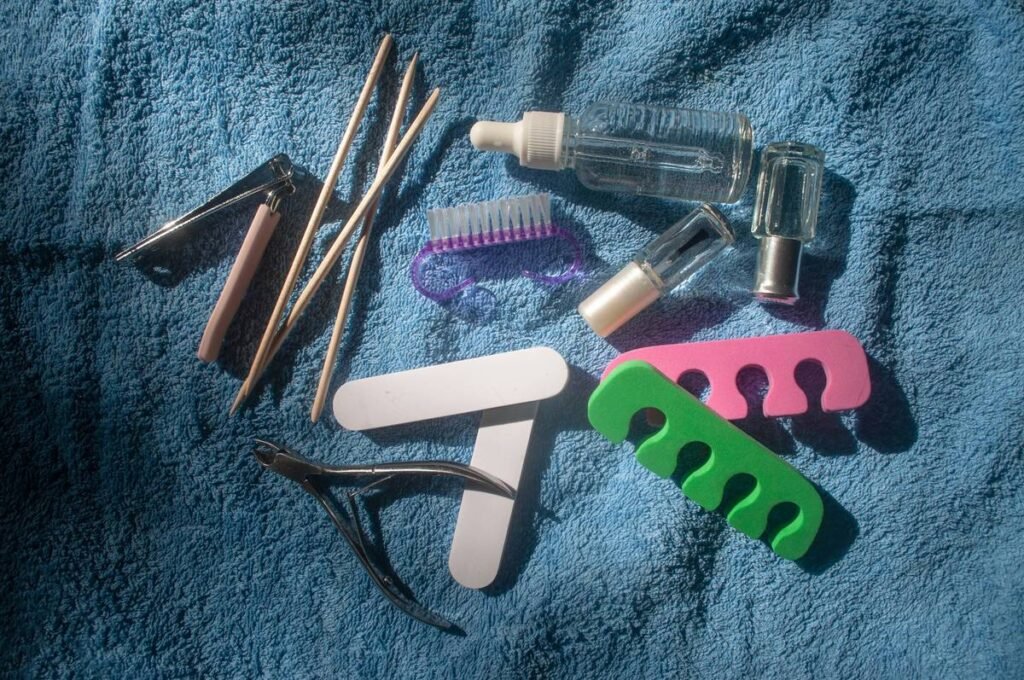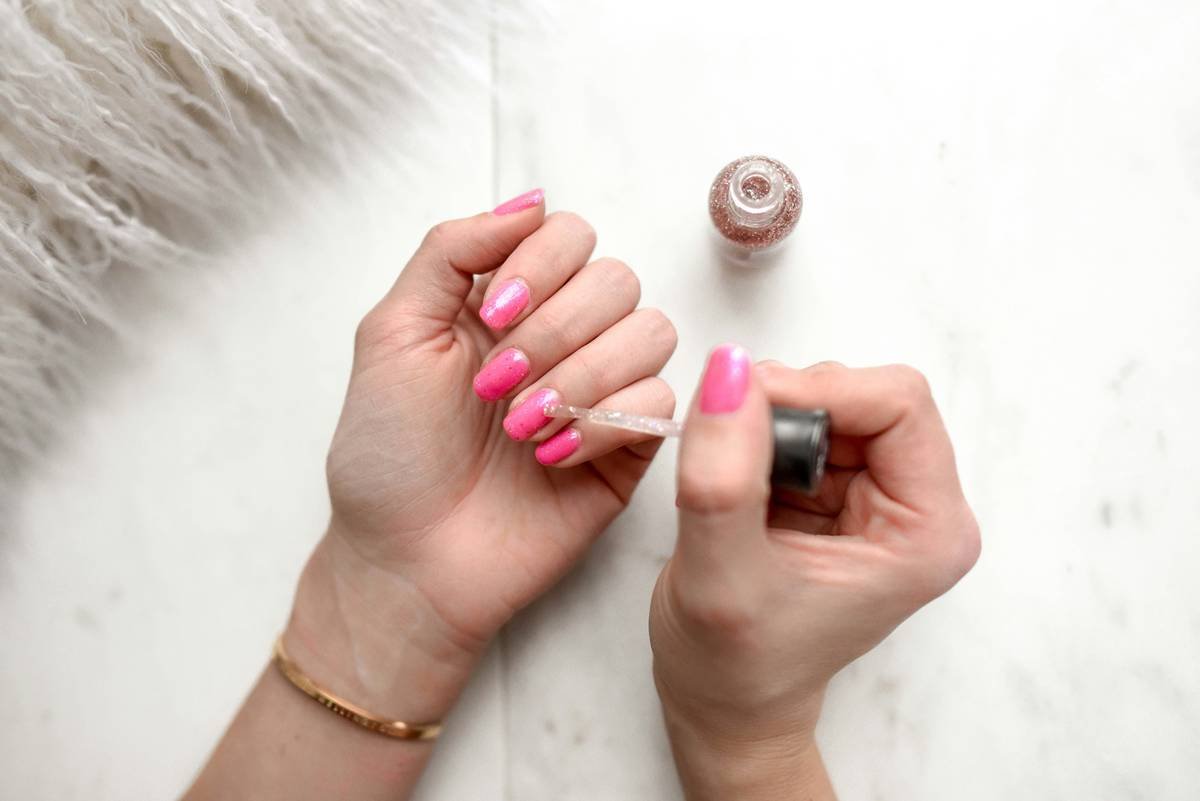
You spent hours choosing the perfect nail shape for your wedding day—only to watch it chip, peel, or worse: look lopsided by day two. And it’s not your polish. It’s your nail design shaper. Cheap files, rushed filing, and mismatched grits sabotage even the most expensive manicures. But what if the secret to flawless, camera-ready nails wasn’t in the gel—but in the grind?
Why 90% of At-Home Nail Shaping Fails Before Day One
Most people treat nail files like disposable toothbrushes—grab the cheapest one, swipe a few times, and call it done. Big mistake. A poor-quality file doesn’t just smooth—it shreds. Micro-tears along the nail edge become stress points. That’s where peeling starts. And if you’re using a metal file? You’re basically sawing your nail plate into splinters.
Here’s the reality: your nail’s longevity is decided before polish ever touches it. The foundation is contour, not color.
How to Shape Nails Like a Bridal Nail Artist (Step-by-Step)
Forget TikTok hacks. This is how top-tier nail techs prep nails for high-definition wedding photography—where every millimeter matters.
Pick the Right Grit Profile
Nail grit isn’t one-size-fits-all. Soft natural nails? Use 180–240 grit. Acrylic or hard enhancements? Jump to 100–150. Never go below 80—it’s sandpaper, not shaping.
File in One Direction Only
Sawing back and forth creates micro-fraying. File from side to center in smooth, unidirectional strokes. Think of it like stroking a cat—not wrestling it.
Match Shape to Finger Anatomy
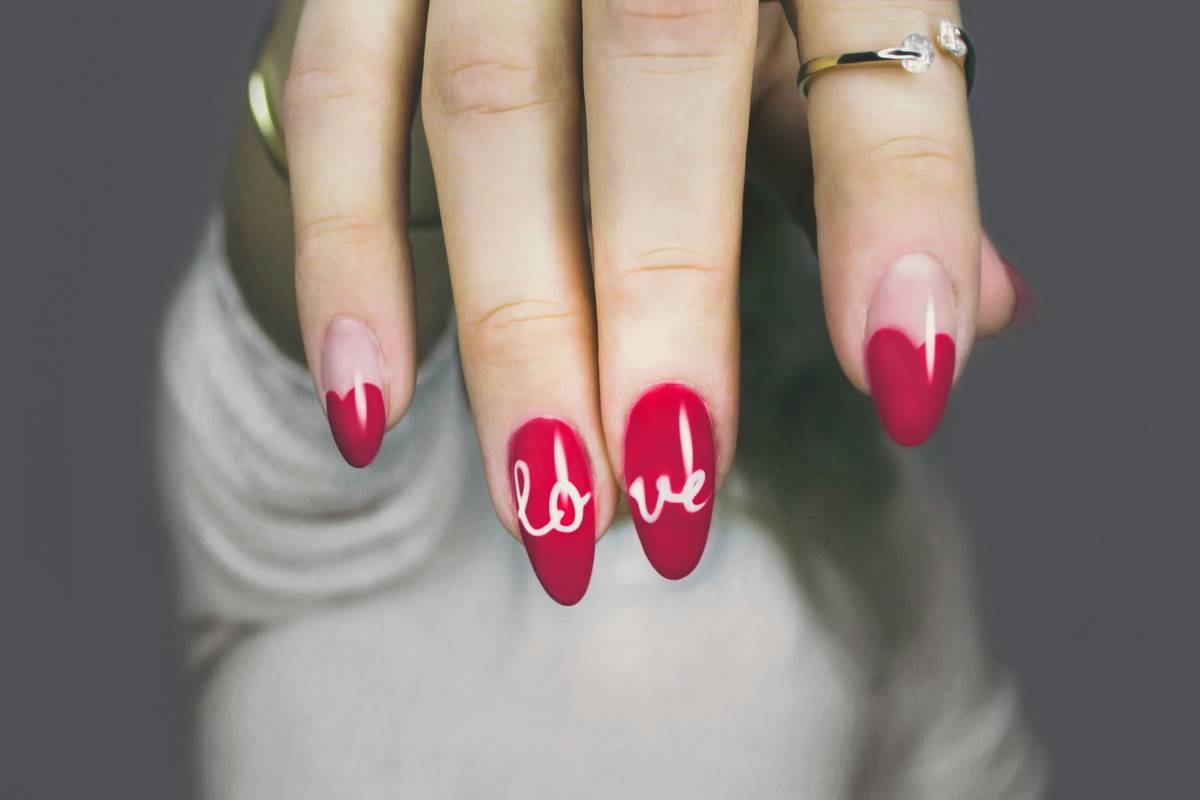
Oval suits short fingers. Almond elongates wide nail beds. Square? Only if your cuticles are perfectly symmetrical. Forced shapes look awkward under ring lights.
| Tool Type | Grit Range | Best For | Risk of Damage |
|---|---|---|---|
| Emery Board (Disposable) | 100–240 | Quick touch-ups | Moderate – fibers shed, inconsistent grit |
| Ceramic File | 180–320 | Natural nails, bridal prep | Low – smooth, non-porous surface |
| Metal File | 60–100 | Acrylic reduction only | High – causes micro-cracks in natural nails |
| Glass/Nail Buffer | 240–400+ | Final smoothing, shine | None – if used correctly post-shaping |
The Industry Secret: “Dry Shape” vs. “Hydrated Shape”
Here’s something no beauty magazine will admit: **nails behave differently when dry versus hydrated**. Most clients shape right after a shower—or worse, during a salon soak. That’s when nails swell up to 25%. File them then, and they shrink back unevenly as they dry. The result? A subtle wave that catches light like a flaw on camera.
Elite bridal artists wait 45 minutes post-wash before shaping. They use a silica brush to remove dust—not water. Because in wedding photography, perfection lives in the negative space between the nail and the shadow it casts.
Frequently Asked Questions
Can I reuse a nail design shaper?
Yes—if it’s ceramic or glass. Emery boards harbor bacteria and lose grit fast. Toss them after 2–3 uses.
Does nail shape affect wear time?
Absolutely. Rounded edges (oval, almond) distribute stress better than sharp corners (square, coffin), which chip faster under ring pressure or clutch bags.
What’s the best nail design shaper for beginners?
Start with a dual-sided ceramic file: 180 grit for shaping, 240 for smoothing. Avoid metal entirely—it’s for pros removing product, not refining shape.